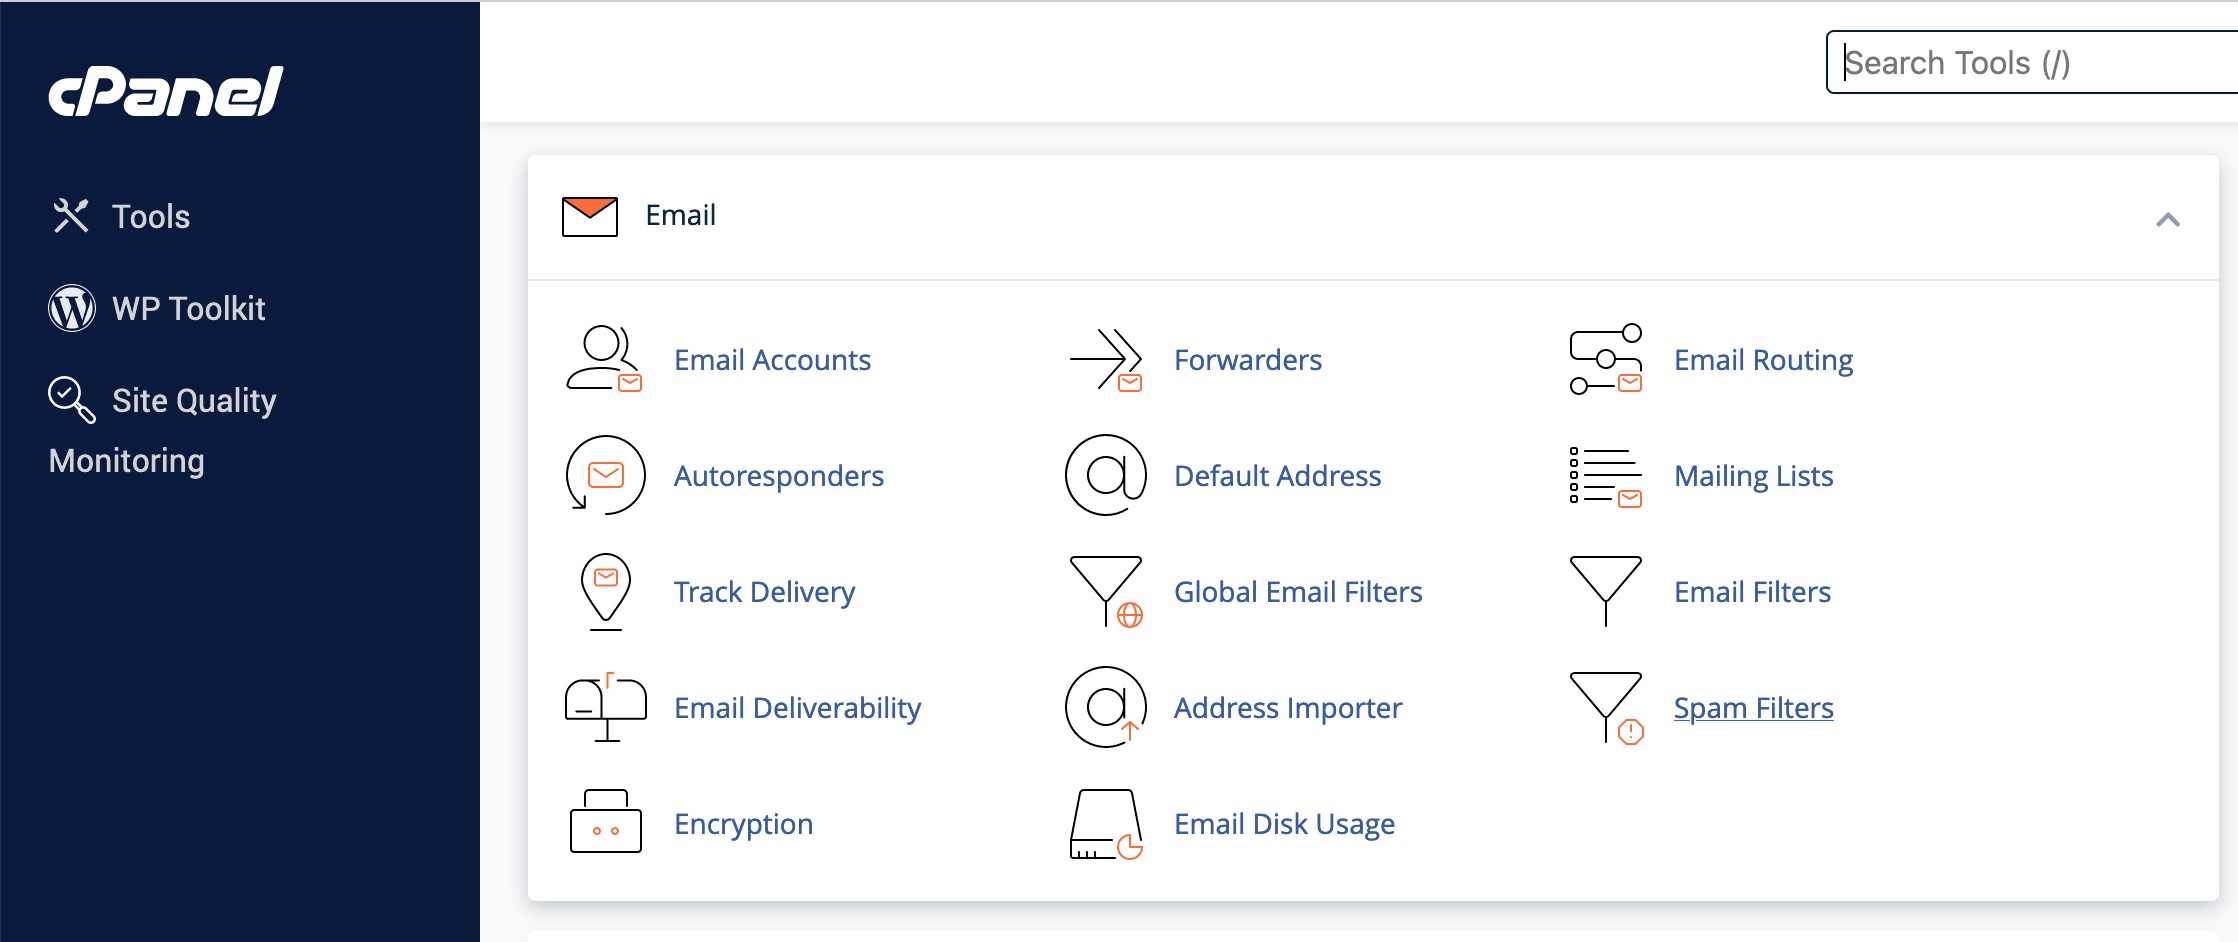
If you’re using cPanel to manage your website and email settings, you can set up DKIM to enhance your email security directly from the cPanel interface. Here’s a step-by-step guide on how to add DKIM in cPanel:
1. Log into cPanel
First, access your cPanel account by logging in through your hosting provider’s website or by entering http://yourdomain.com/cpanel in your browser’s address bar (replace yourdomain.com with your actual domain).
2. Find the Email Section
Once logged in, navigate to the “Email” section of your cPanel dashboard. Here, you’ll find various options related to email management.
3. Access Authentication/Email Deliverability
Look for an option named “Authentication”, “Email Authentication”, or “Email Deliverability”. The exact name might vary depending on the version of cPanel your hosting provider is using. Click on it.
4. Enable DKIM
In the Authentication or Email Deliverability section, you will find options for DKIM and SPF (Sender Policy Framework). Locate the DKIM section.
- If DKIM is not enabled, you will see an option to enable it. Click on “Enable DKIM” or a similarly labeled button.
- Once enabled, cPanel will automatically generate a DKIM record for your domain.
5. Publish DKIM Record
After enabling DKIM, cPanel should display the DKIM record that needs to be added to your domain’s DNS settings. In most cases, cPanel automatically adds this record for you. However, if your domain’s DNS is managed externally (not through your hosting provider), you will need to manually add the provided DKIM TXT record to your DNS manager:
- Copy the DKIM record.
- Log into your DNS manager (where your domain’s nameservers are pointed).
- Create a new TXT record with the values provided by cPanel.
6. Verify DKIM Setup
After adding the DKIM record, whether automatically through cPanel or manually in your DNS manager, it’s important to verify that it’s correctly set up:
- Use online tools like MXToolbox (DKIM record lookup) to verify your DKIM record’s propagation and validity.
- You may also send a test email to an external address, such as a Gmail account, and inspect the email’s headers for a DKIM signature that passes verification.
7. Troubleshooting
If you encounter any issues or if the DKIM record is not validating, double-check the record for typos or errors. DNS changes can take some time to propagate, so it might also be worth waiting a few hours and checking again.
By following these steps, you should be able to successfully set up DKIM for your domain using cPanel, enhancing your email’s security and deliverability. If you run into any cPanel-specific issues or need further assistance, your hosting provider’s support team should be able to help.


